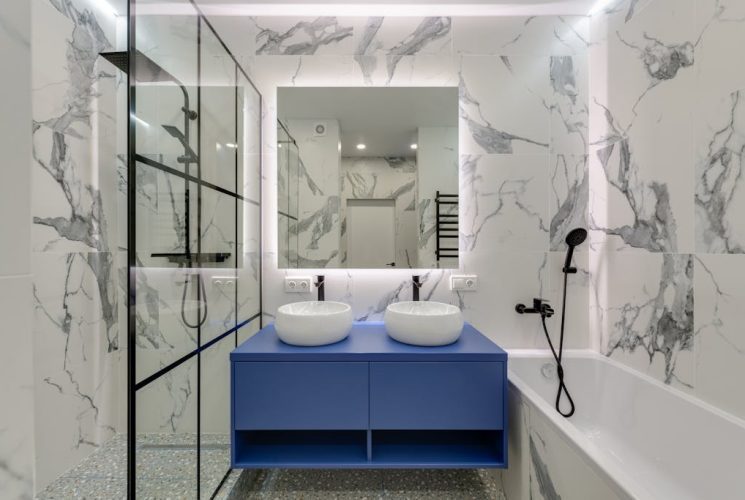
Nothing beats the immense satisfaction of adding a personal touch to your home revamp efforts and bathroom is a perfect place to start. With some planning and a bit of creativity, you can transform your bathroom into a sanctuary of rejuvenation. It does not have to break your bank account; follow this step-by-step guide to a DIY bathroom remodel.
Start with a Detailed Plan
Planning is the most crucial step to avoid costly errors down the line. Visualize the final look you want to achieve, keeping in mind the available space. Keep a record of your preferred color schemes, fixtures, and fittings. Make sure that your choice of style aligns with the overall aesthetic of your house.
Set a Budget
Before you begin the remodel, it’s important to set a budget that you can stick to. Don’t forget to factor in costs for new fixtures, plumbing changes, construction materials, and labor, if you plan to hire any. Don’t forget about an additional emergency fund for unexpected problems that may arise.
Procurement of Supplies
Once you have a concrete plan and a set budget, it’s time to shop for the necessary materials. Always opt for quality items that provide longevity, especially for essential fixtures. Be sure to take the dimensions of your bathroom fixtures and fittings into account while making your purchases.
Demolition and Prep Work
This step involves removing old fittings, tiles, or wallpapers. Ensure your safety by wearing gloves and protective glasses. Shut down your water supply before working on plumbing fixtures. You’ll also need to prep your walls by sanding or removing old paint during this stage.
Focus on the Plumbing
The best time to check and fix issues like leaks or rust is during a remodel. Install new supplies like the bathtub, sink or shower during this stage. If you’re not skilled in plumbing, don’t hesitate to hire a professional as it will prevent future issues.
Installation of New Features
With the plumbing and framework ready, you can now install new tiles, paint, or wallpaper, as per your design plan. Consider using tiles that are resistant to damp and easy to clean. Install vanity units, cabinets, and mirrors later to avoid accidental damage.
Add Finishing Touches
This is where your bathroom starts to look like the vision in your plan. Install the light fixtures, faucets, showerheads, and the toilet. Be meticulous in sealing the edges around showers and sinks to prevent water damage. Putting up curtains, towel racks and finalizing the décor is the last step in your DIY bathroom remodel.
Review and Clean Up
With everything in place, it’s time to review your work. Check functionality of the fixtures, plumbing and look for any possible issues. A good clean-up is needed after the check, and then, voila! You have a brand-new bathroom conforming to your tastes and conveniences.In conclusion, a DIY bathroom remodel requires good planning, a realistic budget, and patience. With these guidelines, you can not only add value to your home but also create a space that rules out generic and resonates with your personal style.